Sunday, October 30, 2011

what a HoOt!


Collage Owls by the Kindergarteners inspired by the wonderful vintage children's book. "The Owl and the Woodpecker." Check it out here: Brian Wildsmith

Thursday, October 27, 2011

Plump Pumpkins...Plumpkins!


Yesterday Swallow Elementary turned into a day of  "Halloween Celebration." wow-za, glad I survived my first Halloween in an elementary school, through the sugar highs and lows. The costumes were great, and I was lucky to have two of my three sections of First grade throughout the day to wrap up their Plump Pumpkin Sculptures. We talked about facial expressions and emotions and they added "expressions" to their plumpkin friends.  By request of more pipe cleaner color choices, they also added hair-do's, arms, legs, and even hoop earrings-very creative. I love the moments when they envision more, and have great outcomes. My room looked like a pumpkin patch over the past week or so...happy seasons, folks.

Saturday, October 22, 2011

Van Gogh inspired Sunflowers


 The First Grade Students have been busy creating still life paintings based on Van Gogh's Sunflower painting. We started the unit by studying Van Gogh's life, works of art, and painting process. The students really enjoyed this video I found on YouTube: 
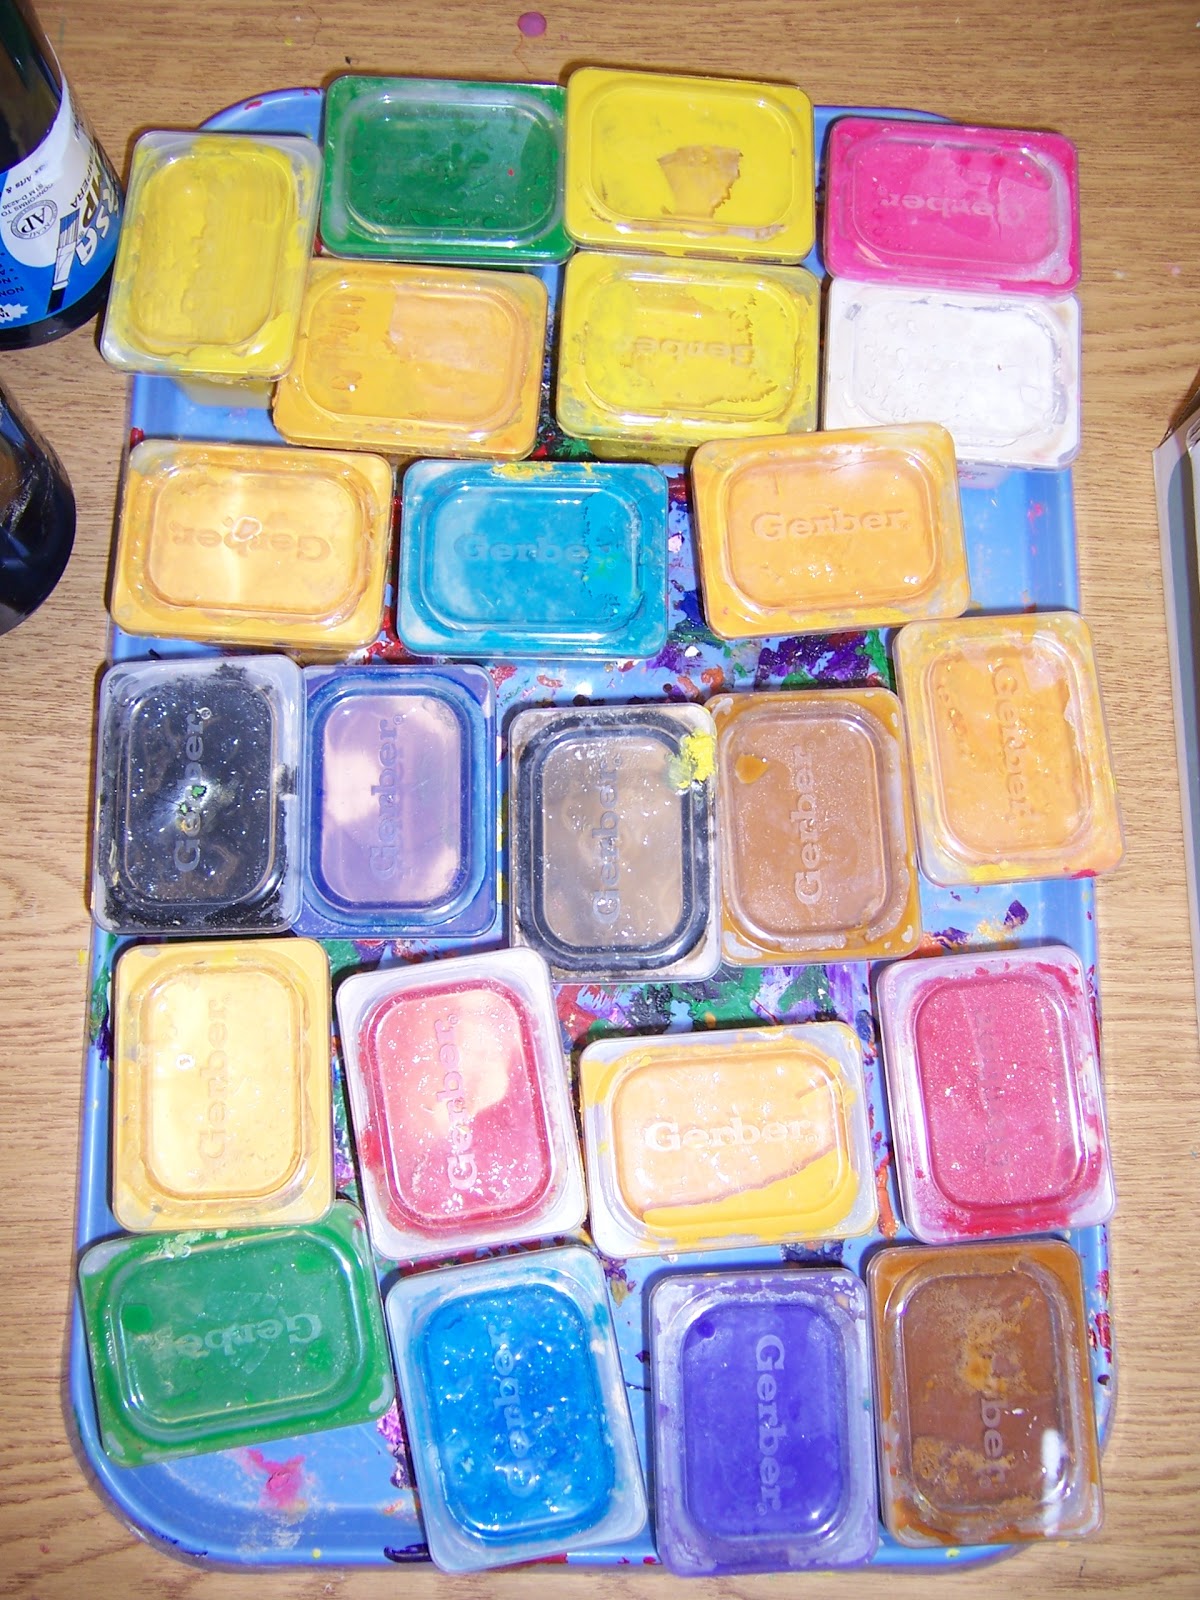
Van Gogh Portraits We then created "Impasto" paint by combining sawdust and tempera paint together into a thick, chunky substance. I mixed the paints to begin with, but as the unit went on I allowed the students to decide if the paint needed more sawdust, or water and allowed them to mix it as needed (a "pinch of sawdust" or a "squirt" of water) -- -- they loved doing this. I set up a sunflower still life in the classroom and we talked about foreground, mid ground, and background and how to make each section stand out, but function together as a whole. Before adding paint the first graders "sketched" their sunflower still life including five flowers. Prior to sketching we talked about the life cycle of a flower and acted out a happy sunflower, as well as a sleeping sunflower and they decided they can look differently. The finishing touches included adding sunflower seeds using a "sandwich" technique: glue, sunflower seeds, glaze coating.


Sunday, October 16, 2011

Felted Wool

A little bit of what about what I've been up to outside of the classroom... felting sweaters! Now that the weather has become typical Wisconsin autumn weather, it's time to get out the wool sweaters and knitted hats. I was going through my closet and thought I could really use some more warm sweaters, and I've always wanted to try felting wool, so I went for it! This sweater was originally an XL 100% wool sweater from a thrift shop, I shrunk in down using the hot washer/dryer approach. I was amazed by how much it shrunk, it was just about the right length for me. I cut the neckline into a boat neck style, the sleeves to 3/4 length bells sleeves, added an asymmetrical cut and buttons to turn it into a cardigan. To finish it off, I added a blanket stitch with embroidery floss around all of the raw edges. I've already gone back to the thrift shop to dig through the racks to find more 100% wool men's sweaters to try another style, new addiction.. possibly!

Wednesday, October 12, 2011

"Tree of Life" Step One: Object Printing

I really enjoy how this student divided up the space and created the root system!


Love the whimsical quality of this student example

The process

The theme this month in the Swallow Art Classroom is Nature. The Third Grade is focusing on the "Tree of Life" symbol and it's use around the world. First, we studied trees in many different forms through visuals from around the world. Then, the students were given a large selection of found objects to chose from...here are a few examples. WOW, this was messy. Following this project with the Third Grade, I sent a letter home to parents entitled "I'm not messy, I'm creative!... A disclaimer from the art room, we use washable materials and the paint should come out with a little extra scrubbing...!  It was nice to receive positive feedback from parents, such as "a messy day is a creative day in my mind"

Monday, October 10, 2011

Circle Weaving

Our inspiration, Kandinsky.


The Fourth Grader's are in the process of finishing their weavings based on Kandinsky's "Circle" Painting. One of the standards for our Fourth Grader's here at Swallow is to develop an understanding of fiber arts. Our artist for the month of September was Kandinsky. I had seen the circle weaving concept somewhere, sometime.. and have always wanted to try it! It's super simple, from the supplies to the process. We used paper plates as our looms and a large amount of colored yarn. The best and more popular type amongst the students was the thick and chunky yarn that gave a their weaving a great texture. The students mounted their weavings on contrasting colored squares of tag board to be hung together in a collaborative format to simulate a large scale version of Kandinsky's Circles. This project really bumped up their fine motor (KNOTTING) skills, thank goodness we are nearing the end of this unit, no more knots! I will upload a final image of the collaborative piece once it's hung!

Sunday, October 9, 2011

Paper Sculpture

In-progress paper sculptures

Display near the art room/second grade hallway...

I really enjoy how far the sculptures pop off the wall, however I thought this might encourage students passing in the hallway to "interact" with the sculptures. So far, it hasn't been an issue, yay!
The Second Grade students created sculptures inspired by sculptures unique to the Midwest, taking a closer look at the "The Calling" located downtown Milwaukee near the MAM. We have been working on lines, elements/principles of design, as well as developing a better understanding of 2D and 3D works of art. I was impressed and inspired by some of the creations in the classroom. My favorite was the hidden letters in their sculptures as well as loops inside of loops, on top loops, underneath loops... and loops on loops.

Saturday, October 1, 2011

Kandinsky Circles

Day 1, Step 1: Folding the paper to create eight equal squares (we did this as a class, this can be challenging for their little hands!) Next, the students rotated through eight painting stations where they painted a different color in each square. This was an experiment to see how well they could follow directions, move around the classroom in an orderly fashion, and work together as a team.
Day 2: We talked about the "line families" and the differences between a circle and dot, as well as contrasting/complementary colors, and the magic words : make it... Pop!  Following a quick demo of tracing, cutting, and gluing circles the student began to pick out squares, trace circles (if they chose to use the tracer) and layer up dots.


While I demonstrated layering the dot colors, they students saw something very interesting. They thought the layered dots resembled "wedding cakes" or layered cakes. So, following the demo we began to refer to the series of layered circles, as "cakes." The final step of the project was to add yarn circles.


...and ta-da! Kandinsky inspired Circles. I was very excited to see the individuality in each series of dots, or "cakes." I demonstrated many techniques and mediums and let the students decide what to add, or not too add to their work of art. Thanks to a wonderful parent volunteer for hanging this display, much appreciated!